- Joined
- Oct 23, 2005
- Messages
- 7,243
- Reaction score
- 4,778
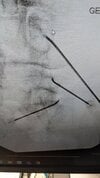
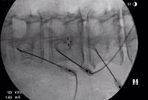
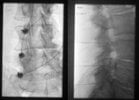
what have you guys modified in private practice (compared with fellowship) to make your lumbar RFA more efficient?
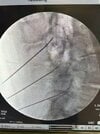
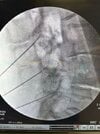
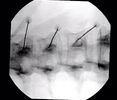
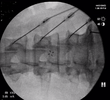
I use SIS technique, 18G, 1cm curved tip cannula, lesion x 2 for 90 seconds (rotate cannula 90-100 degrees between lesions)
I have excellent RFA results but I wonder if I could change a few things to save 5 min per case, and still have similar outcomes
Thoughts on what you found improved your efficiency?
")